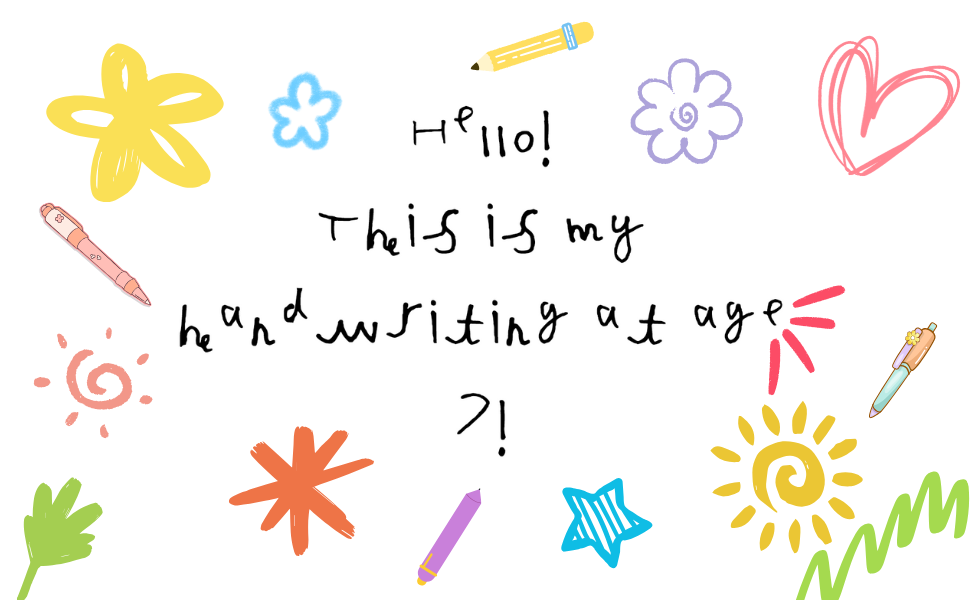
Remember when you saved every scribbled note your child wrote? Now you can actually use their handwriting.
Creating a custom font from your child's handwriting isn't just a cute keepsake! It's a way to preserve their developmental journey and add a personal touch to everything from birthday invitations to school projects. Plus, imagine their excitement seeing their own handwriting on the computer!
Here's how to create this one-of-a-kind DIY keepsake in just 15 minutes.
What You'll Need
- Option 1: A black pen (fine tip works best) + printer + scanner/phone camera
- Option 2: A tablet with stylus + drawing app
- Computer with internet access
- About 15 minutes of patience
Step-by-Step Guide
Step 1: Get Your Template
Head to Calligraphr.com and create a free account. You can make up to one font completely free - perfect for testing this out.
Click "Start App" and then "Templates" to download your character template. This gives you a grid where each letter has its own box.
Step 2: Choose Your Method
Option 1 - Traditional Method (Need Printer): Print the template on regular white paper. Make sure your printer settings are at 100% scale (not "fit to page"). Get a good black pen - fine tip markers or gel pens work brilliantly.
Option 2 - Digital Method (No Printer Needed!): Save the template to your tablet and open it in any drawing app. Your child can write directly on the screen using a stylus. This method is often cleaner and easier to upload!
Step 3: The Fun Part: Let Them Write!
Here's where your child becomes the star. Have them fill in each letter box with their natural handwriting.
Pro tips:
- Don't make them perfect each letter, their natural style is what makes it special
- If they mess up, just print another template
- For younger kids, focus on uppercase letters first
- Take breaks if they get tired, rushed letters won't look like "them"
Step 4: Get Your Digital File
If you used paper: Scan it or take a clear photo with your phone. The key is good lighting and making sure the template lies flat.
Phone photo tips:
- Use natural light if possible
- Make sure the entire template is in frame
- Keep the camera directly above (not at an angle)
If you used a tablet: Simply export/save the image from your drawing app.

Step 5: Upload to Calligraphr
Back on the website, click "My Fonts" then "Upload Template." Upload your scanned image and watch the magic happen.
The website automatically detects each letter and converts it into font characters. You can preview how it looks and make adjustments if needed.

Step 6: Download and Install Your Font
Once you're happy with how it looks, click "Build Font" and download it to your computer.
Installing on Windows:
- Right-click the downloaded font file
- Select "Install" from the menu
- The font is now available in all your programs
Installing on Mac:
- Double-click the downloaded font file
- Click "Install Font" in the preview window
- The font appears in your Font Book and all applications
The Magic Moment: Seeing Their Reaction
We used our daughter's font in our published Monster Coloring Tales book for the thank you note. I'll never forget the look on her face when she saw it - pure pride and amazement. She kept asking, "Are those my letters? Really my letters?"

It was one of those moments where you realize how much these little touches mean to our kids. They see themselves reflected in something "official" and grown-up, and it validates their contribution in such a powerful way.
Creative Ways to Use Their Font
- Birthday Invitations: Write party details in their own handwriting
- School Projects: Add a personal touch to presentations
- Thank You Cards: Grandparents will melt when they see this
- Published Books: We use our daughter's font for special notes in our books
- Surprise Stories: Type up a story they told you using their font
- Bedroom Decor: Print their name for their door or wall art
- Picture Frames: Create custom labels for family photos
- Future Keepsakes: Imagine showing them this font when they're 16!
Make It an Annual Tradition
Here's where this gets really special: do this every year. Create "Emma Age 5," "Emma Age 6," etc. You'll have a visual timeline of how their handwriting develops and changes.
By the time they're adults, you'll have a collection of fonts that tell the story of their childhood, one letter at a time.
Why This Matters (Beyond the Cute Factor)
In our digital world, handwriting is becoming rare. This project:
- Celebrates their individual development
- Creates lasting memories you can actually use
- Gives them ownership over something "official" and grown-up
- Preserves a moment in time that changes so quickly
Troubleshooting Tips
- Letters look too faint? Use a darker pen next time
- Some letters didn't convert well? You can manually edit them on the website
- Child getting frustrated? Break it into multiple sessions—just save your progress
- Font looks too cramped? There's spacing you can adjust in the font settings
The Real Payoff
The first time you type something in their font and they see their handwriting on screen? Pure magic. It's like seeing their personality captured in pixels.
This isn't just another craft project that sits in a drawer. It's a functional keepsake that grows with your family and gets used again and again.
Start with this year's handwriting, then make it a tradition. Future you (and future them) will thank you for capturing these fleeting moments in such a unique way.
Have you tried creating a font from your child's handwriting? Share your results in the comments - we'd love to see their unique styles!

